
Would have been simple enough, but the planter was a bit stained up, even after washing it out, and it just wasn't quite holiday decor enough, so I decided to paint it up a la Santa's fat ol' belly. A little spray paint, some acrylic paint, and a buckle made from glitter paper later, and voila!
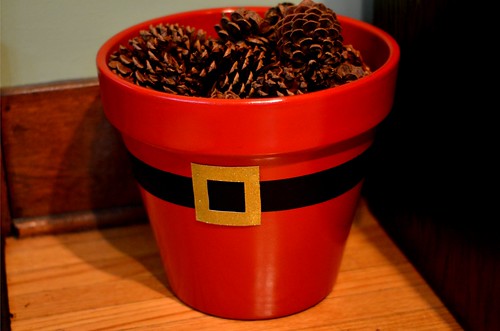
Oh, and since I had already bought two bags of pine cones and that wasn't quite enough, I used some left over paper to fill in the bottom of the planter a bit. Here's the how-to for anyone interested:
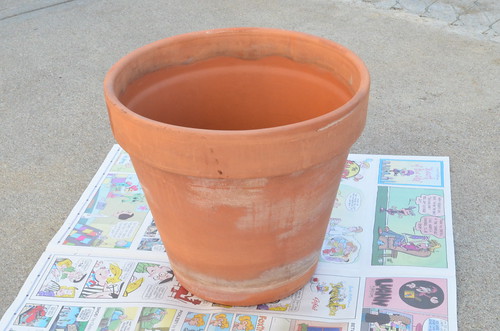
Start with a clean planter. Lay down a bunch of newspaper (WAY more than I did, please) or a drop cloth outside and set the planter in the middle.
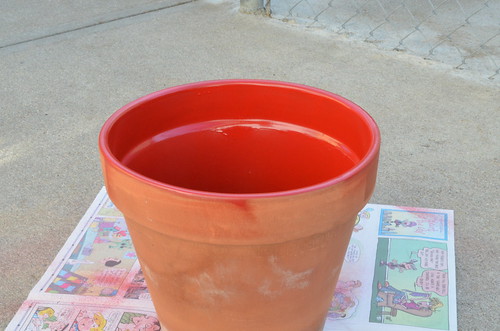
Spray paint the inside and rim of the planter, and let it dry completely. Once it's dry, if you need to add another coat, do so and then dry completely again. I used a fairly fast drying Krylon and only had to wait around 30 minutes between coats.
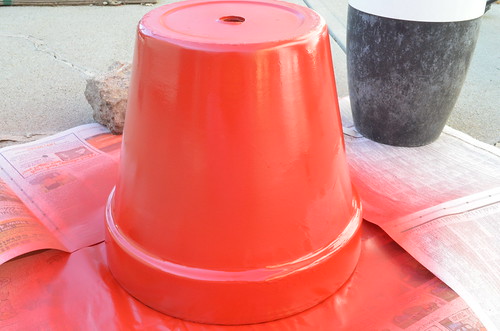
Once completely dry, flip the planter over and coat the outside. I ended up giving it around 3-4 coats total, let the coats dry before adding additional coats. Let it dry completely outside before bringing it in. Ignore the beat up trash can, it was windy as crap out.
It should be nice and shiny and bright once it's all dry. Find a good spot and set up shop. My fiance set up a desk in our basement so that we can have a place where we don't have to worry about paint/glue/tears staining up our floors or table upstairs. Isn't it so pretty and not dungeon looking??
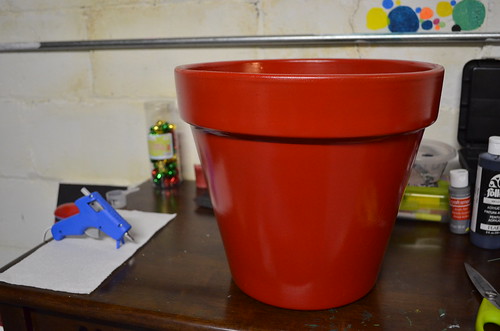
You'll want to grab some black acrylic paint...
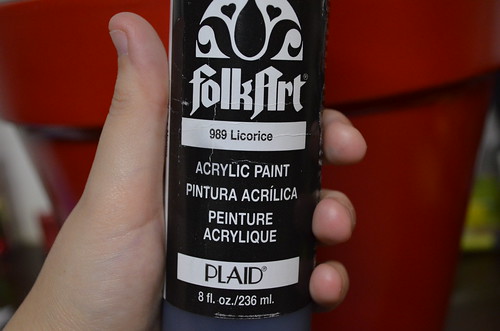
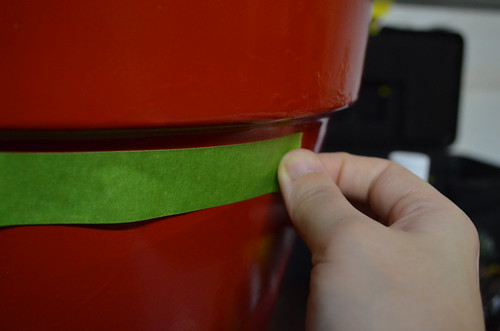
And some painter's tape...

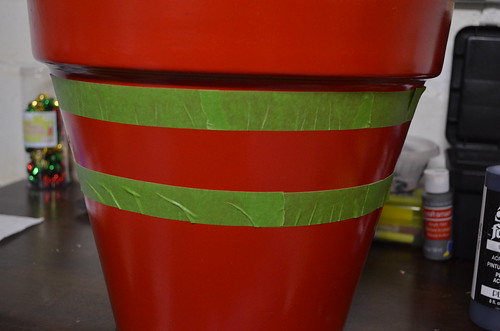
And tape off, starting where you would like the upper part of the belt to start. Make sure to press the tape down firmly so that paint won't leak through.
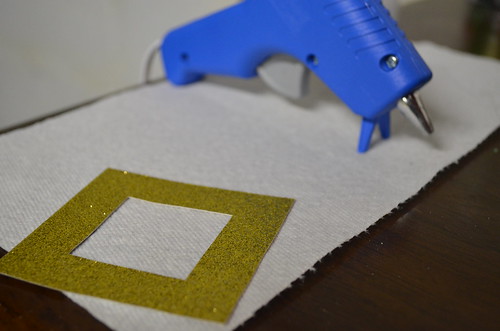
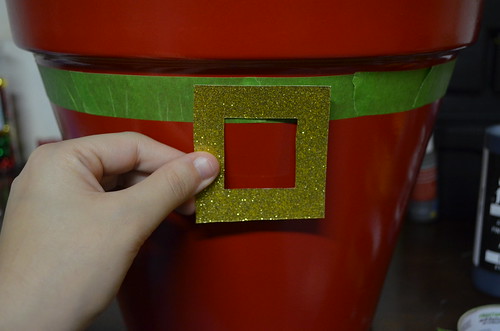
I used some pre-glittery gold scrapbook paper to make the buckle, but you can use another paper if you'd like as well. Measure it out and cut it to the size that you would like. Mine is approximately three inches by three inches. Plug in your glue gun at this time to get it warmed up.
Use the buckle as a guide for how low you should place the second strip of tape. You'll want it to be at least as wide as the opening in the buckle.
Tape all the way along, pressing down firmly again to secure.
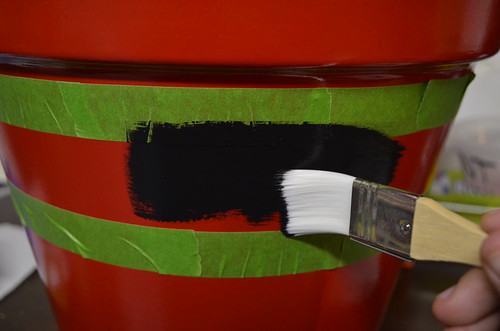
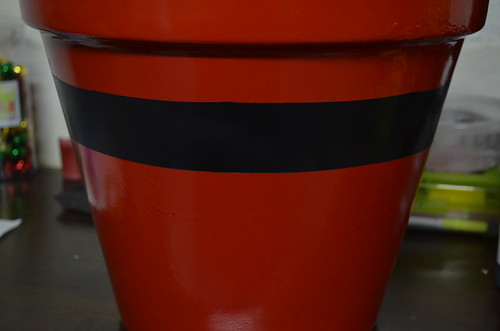
Using a small to medium sized brush and your black acrylic paint, carefully apply a coat within your taped area. Allow to dry completely before adding a secondary coat, if necessary (I only needed one coat). Let dry for at least 1 to 2 hours.
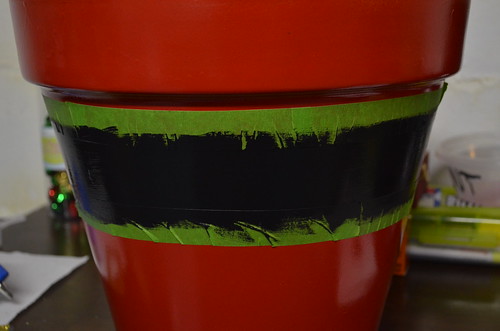
When the paint has dried, slowly remove the painter's tape.

Apply glue to the back of the buckle (work fast).
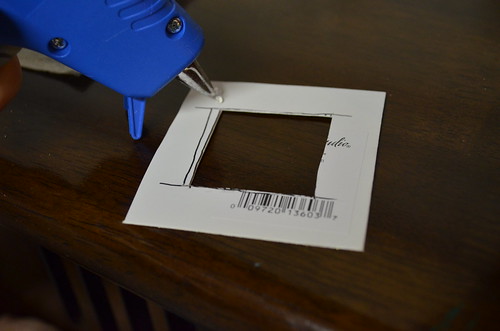
Place the buckle on the planter and press down to ensure the glue sticks to it well.
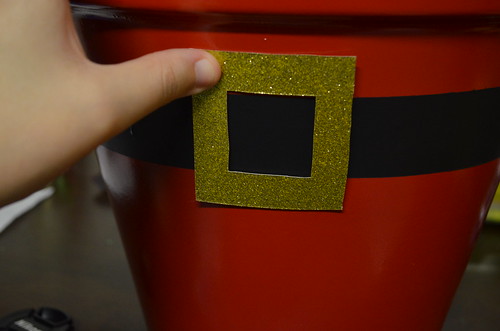
And there you have it! Fill and enjoy!
cute!
ReplyDelete